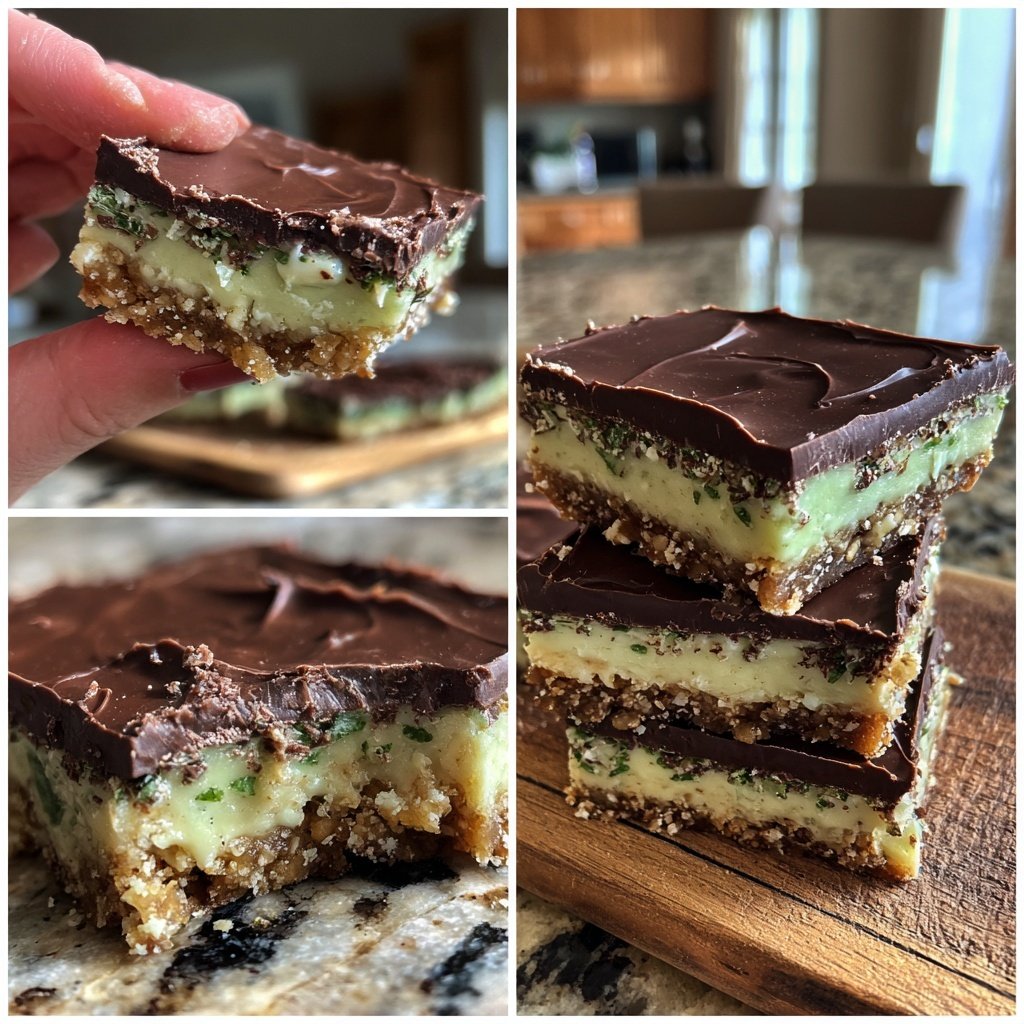
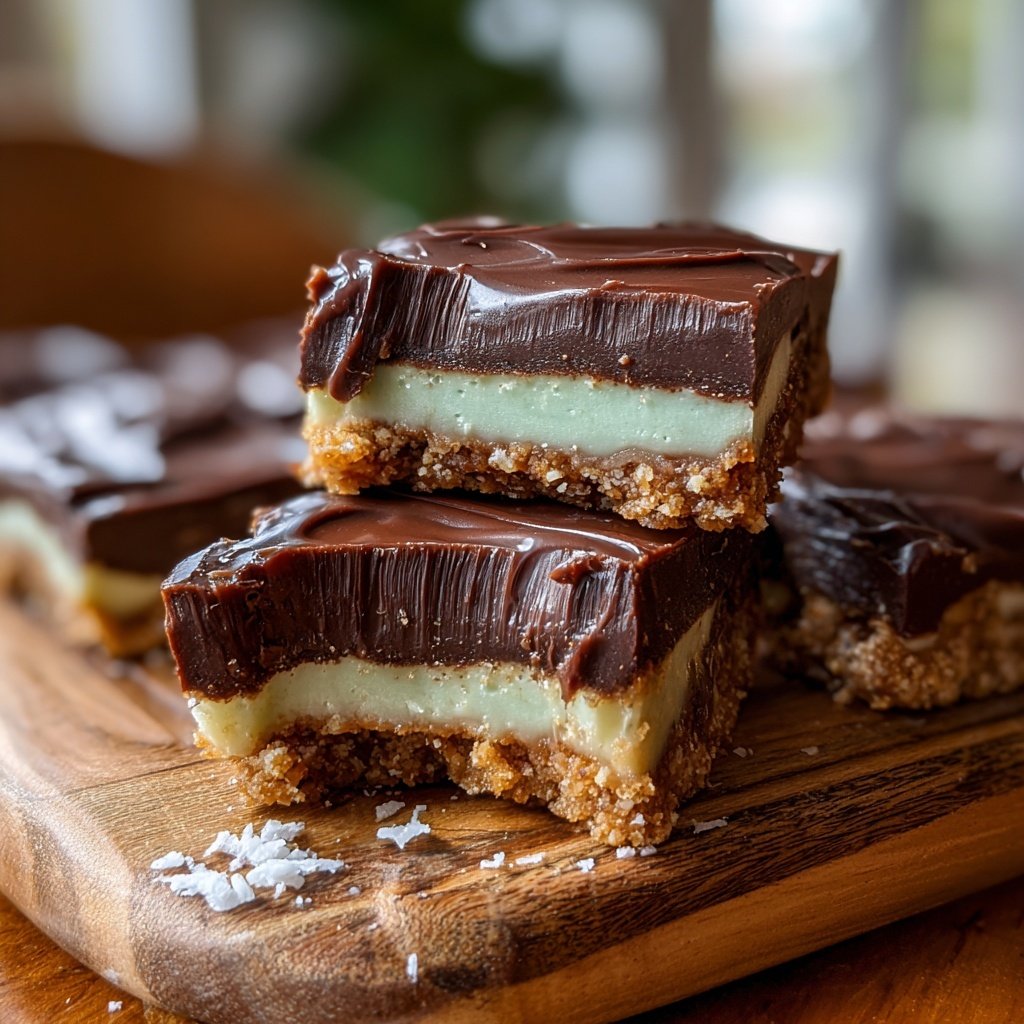
Chocolate Mint Slice Bars
Highlighted under: Cozy Inspiration
I absolutely love making these Chocolate Mint Slice Bars for gatherings and special occasions. The combination of rich chocolate and refreshing mint creates a delightful treat that's hard to resist. Each bite melts in your mouth, with a perfect balance of sweetness and a hint of freshness. These bars are incredibly easy to prepare, which is great because it means I can whip them up whenever I have a craving or want to impress friends and family. Trust me, once you try them, you'll be reaching for seconds!
When I first experimented with these Chocolate Mint Slice Bars, I wanted to create a dessert that combined two of my favorite flavors: chocolate and mint. The key to achieving the perfect flavor was using high-quality cocoa powder and pure peppermint extract. I discovered that by allowing the base to chill properly, the layers set beautifully, resulting in a firm yet velvety slice. Every time I serve these bars, they disappear in no time!
One of my favorite tips is to sprinkle some crushed mint candies on top for an extra crunch and burst of flavor. It not only looks appealing but adds an exciting texture that complements the creamy layers. The balance of rich chocolate and vibrant mint makes these bars an ideal dessert for any occasion, and I guarantee they’ll delight your taste buds!
Why You'll Love This Recipe
- Intensely rich chocolate flavor combined with refreshing mint
- Creamy texture that perfectly contrasts the crunchy base
- Quick and easy to make, perfect for all skill levels
Choosing the Right Chocolate
The type of chocolate you use for the topping plays a crucial role in the overall flavor and texture of your Chocolate Mint Slice Bars. I recommend using high-quality dark chocolate with at least 60% cocoa content, as it provides a rich, intense flavor that complements the mint filling beautifully. If you prefer a slightly sweeter topping, you can opt for semi-sweet chocolate instead, but be cautious not to overpower the mint flavor.
When melting the chocolate, it's important to do so gently to prevent seizing. You can use a double boiler or microwave in short bursts, stirring in between. Aim for a smooth, glossy consistency. If you notice that your chocolate is thickening or not melting properly, adding a teaspoon of coconut oil, which you've already included in the recipe, can help achieve the desired texture.
Perfecting the Mint Filling
The mint filling is where the magic happens, creating that refreshing burst of flavor that pairs so well with the rich chocolate. It’s essential to use softened cream cheese to ensure a smooth, lump-free filling. You can speed up the softening process by cutting the cream cheese into cubes and letting it sit at room temperature for about 15 to 30 minutes.
When mixing the mint filling, be cautious not to overmix once you've added the powdered sugar and peppermint extract. Overmixing can introduce air into the filling, causing it to be less dense. If you want to control the level of minty flavor, start with a teaspoon-and-a-half of peppermint extract and gradually add more until it reaches your desired level of intensity.
Ingredients
Gather the following ingredients to create the base and mint filling for the bars:
For the Base
- 200g digestive biscuits, crushed
- 100g unsalted butter, melted
- 50g cocoa powder
For the Mint Filling
- 250g cream cheese, softened
- 200g powdered sugar
- 2 teaspoons pure peppermint extract
- Green food coloring (optional, for color)
For the Chocolate Topping
- 150g dark chocolate, chopped
- 1 tablespoon coconut oil
Make sure you have everything ready before starting the process for a smooth experience!
Instructions
Follow these simple steps to create your Chocolate Mint Slice Bars:
Prepare the Base
In a large mixing bowl, combine the crushed digestive biscuits, melted butter, and cocoa powder until well blended. Press this mixture firmly into the base of a lined 8x8 inch baking dish. Refrigerate for 15 minutes to set.
Make the Mint Filling
In another bowl, beat the softened cream cheese until smooth. Gradually add the powdered sugar and peppermint extract, mixing until well combined. If desired, add a few drops of green food coloring to achieve a vibrant mint color.
Assemble the Bars
Spread the mint filling over the chilled chocolate base, smoothing it out evenly. Refrigerate for another 20 minutes to firm up.
Prepare the Chocolate Topping
Melt the dark chocolate and coconut oil together in a microwave-safe bowl, stirring until smooth. Pour this over the chilled mint layer and spread evenly. Return to the fridge for at least 30 minutes to set completely.
Serve
Once set, remove the bars from the baking dish, cut into squares or rectangles, and serve chilled. Enjoy!
Let the bars rest at room temperature for a few minutes before cutting for cleaner edges.
Pro Tips
- For an even more minty flavor, consider adding crushed mint candies to the filling or garnish. Storing the bars in the refrigerator keeps them fresh and firm, making them a perfect make-ahead treat.
Storage and Make-Ahead Tips
These Chocolate Mint Slice Bars can be made ahead of time, making them a perfect treat for gatherings. Once fully set, slice the bars and store them in an airtight container in the refrigerator for up to one week. For extended storage, you can freeze the bars. Just wrap each piece tightly in plastic wrap and place them in a freezer-safe container. They can last for up to three months in the freezer.
When you're ready to enjoy the frozen bars, simply remove them from the freezer and let them thaw in the refrigerator for a few hours. This way, you'll have a delightful treat ready to go whenever the craving strikes!
Serving Suggestions and Variations
These Chocolate Mint Slice Bars are delicious on their own, but consider serving them with a scoop of vanilla ice cream for an indulgent dessert. The creaminess of the ice cream balances the rich chocolate and refreshing mint, creating a delightful combination. You could also drizzle extra melted chocolate on top for a fancy presentation or a sprinkle of crushed peppermint candies for added texture and flair.
For variations, you might experiment with different flavors in the mint filling. A hint of orange zest or a splash of orange extract can transform these bars into a chocolate orange treat, while almond or vanilla extract can offer a different flavor profile altogether. Don’t be afraid to get creative!
Questions About Recipes
→ Can I use gluten-free biscuits for the base?
Yes, gluten-free digestive biscuits can be used as a substitute in this recipe.
→ How long can I store the bars?
These bars can be stored in an airtight container in the refrigerator for up to one week.
→ Can I use milk chocolate instead of dark chocolate?
Absolutely! Milk chocolate will give the bars a sweeter taste.
→ Is it necessary to use food coloring?
No, food coloring is optional. The bars are delicious without it too!
Chocolate Mint Slice Bars
Created by: Esmeray Collins
Recipe Type: Cozy Inspiration
Skill Level: Beginner
Final Quantity: 16 bars
What You'll Need
For the Base
- 200g digestive biscuits, crushed
- 100g unsalted butter, melted
- 50g cocoa powder
For the Mint Filling
- 250g cream cheese, softened
- 200g powdered sugar
- 2 teaspoons pure peppermint extract
- Green food coloring (optional, for color)
For the Chocolate Topping
- 150g dark chocolate, chopped
- 1 tablespoon coconut oil
How-To Steps
In a large mixing bowl, combine the crushed digestive biscuits, melted butter, and cocoa powder until well blended. Press this mixture firmly into the base of a lined 8x8 inch baking dish. Refrigerate for 15 minutes to set.
In another bowl, beat the softened cream cheese until smooth. Gradually add the powdered sugar and peppermint extract, mixing until well combined. If desired, add a few drops of green food coloring to achieve a vibrant mint color.
Spread the mint filling over the chilled chocolate base, smoothing it out evenly. Refrigerate for another 20 minutes to firm up.
Melt the dark chocolate and coconut oil together in a microwave-safe bowl, stirring until smooth. Pour this over the chilled mint layer and spread evenly. Return to the fridge for at least 30 minutes to set completely.
Once set, remove the bars from the baking dish, cut into squares or rectangles, and serve chilled. Enjoy!
Extra Tips
- For an even more minty flavor, consider adding crushed mint candies to the filling or garnish. Storing the bars in the refrigerator keeps them fresh and firm, making them a perfect make-ahead treat.
Nutritional Breakdown (Per Serving)
- Calories: 250 kcal
- Total Fat: 15g
- Saturated Fat: 9g
- Cholesterol: 30mg
- Sodium: 90mg
- Total Carbohydrates: 28g
- Dietary Fiber: 1g
- Sugars: 18g
- Protein: 3g