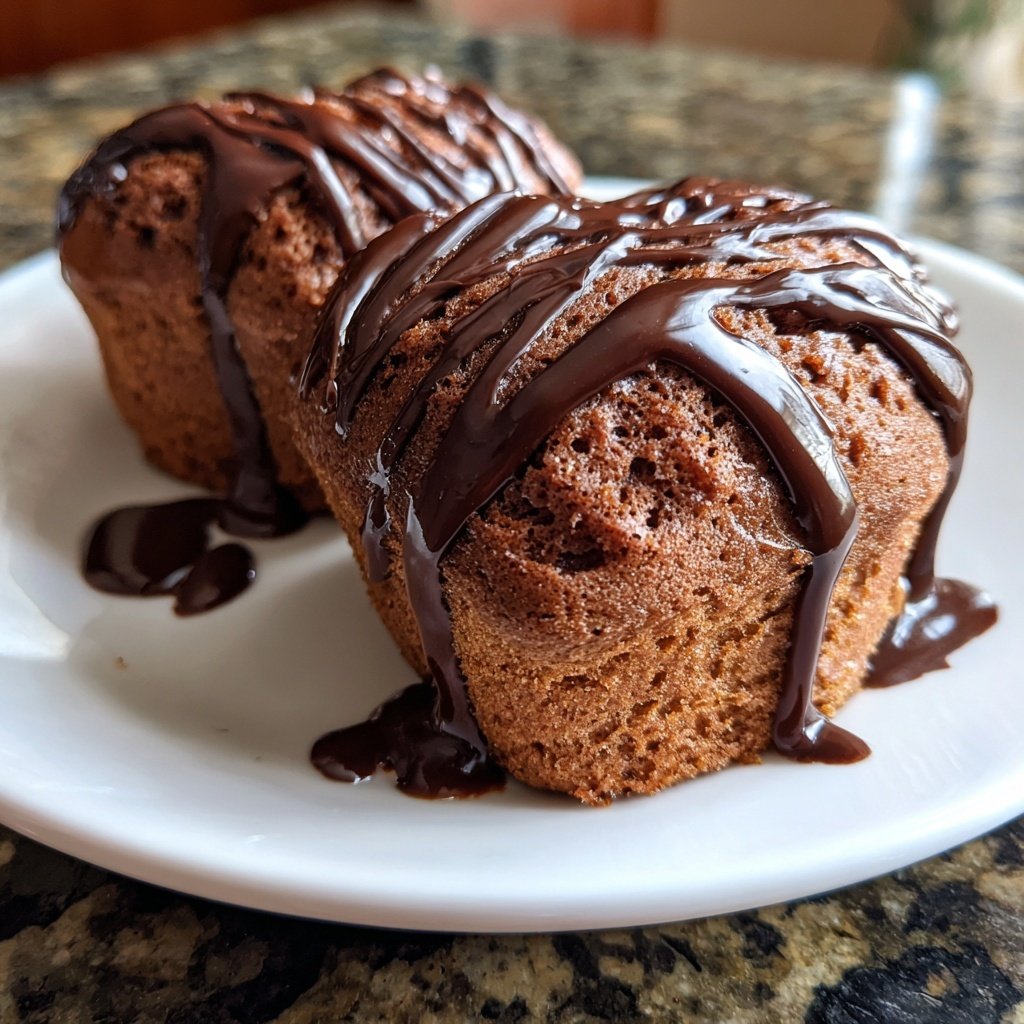
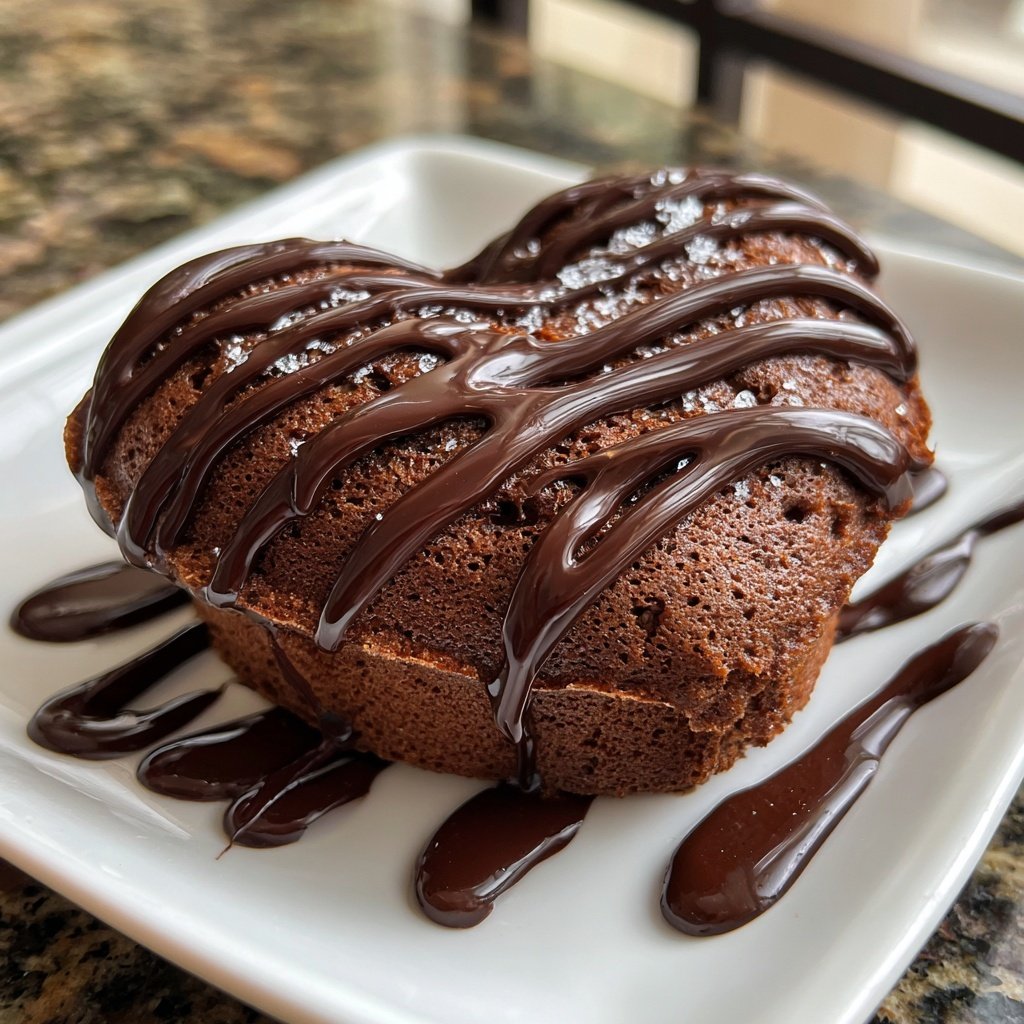
Mini Heart Cake with Chocolate Sponge
Highlighted under: Cozy Inspiration
I absolutely adore creating mini cakes, especially when they come in charming heart shapes! These Mini Heart Cakes with Chocolate Sponge are not only fun to make, but they also add a personal touch to any celebration. With rich chocolatey goodness and the perfect crumb, they’re delightful both in flavor and presentation. Whether it’s for a special occasion or simply to enjoy with loved ones, these little treats are sure to bring smiles to everyone's faces. Let’s dive into the process and share some tips to make them perfect!
During one of my recent baking adventures, I decided to experiment with mini cake designs. The result was spectacular—these Mini Heart Cakes were not only visually appealing but also incredibly moist thanks to a rich chocolate sponge. I learned that using high-quality cocoa powder makes a substantial difference in flavor and depth. Trust me, the extra effort pays off!
As I garnished these delightful treats, I discovered that piping a bit of fresh whipped cream on top added a beautiful contrast to the chocolate. I also recommend using a heart-shaped cookie cutter to create even layers for that perfect look. It's all about the details!
Why You Will Love This Recipe
- Decadent chocolate sponge that’s perfectly moist
- Cute heart shape that makes a stunning presentation
- Ideal for sharing with loved ones or as a romantic dessert
Perfecting the Chocolate Sponge
To achieve the ideal chocolate sponge, ensure that your cocoa powder is of high quality, as it directly affects the flavor. I recommend using Dutch-processed cocoa for a deeper, more robust chocolate taste. Additionally, the combination of baking powder and baking soda helps create a balanced rise, resulting in a light and fluffy texture. Be sure to sift your dry ingredients to prevent lumps and encourage even distribution of the baking powder and cocoa.
The inclusion of boiling water in the batter might seem unusual, but it plays a crucial role in activating the cocoa, enhancing the chocolate flavor, and adding moisture. When you mix the boiling water into the batter, it should become thinner and shinier—a sign that the ingredients are well combined. Be cautious not to overmix after adding the water; just stir until you see a smooth texture.
Decorating Your Mini Cakes
Whipping the cream to the right consistency is essential for achieving the perfect frosting. Aim for soft peaks rather than stiff peaks; this will help the cream maintain a light texture while being spreadable. If your cream becomes too stiff, you can gently fold in a tiny bit of milk to regain the desired consistency. Additionally, chilling your mixing bowl and beaters beforehand will help the cream whip up faster and more effectively.
When it comes to decorating, the use of chocolate shavings not only adds visual interest but also enhances the chocolate flavor profile of the cake. For an easy way to create shavings, use a vegetable peeler on a bar of chocolate. If you want to add a hint of acidity to balance the richness, fresh berries such as strawberries or raspberries make a delightful topping.
Ingredients
For the Chocolate Sponge
- 1 cup all-purpose flour
- 1/2 cup cocoa powder
- 1 cup sugar
- 1 tsp baking powder
- 1/2 tsp baking soda
- 1/4 tsp salt
- 2 large eggs
- 1/2 cup milk
- 1/2 cup vegetable oil
- 1 tsp vanilla extract
- 1/2 cup boiling water
For the Decoration
- 1 cup heavy whipping cream
- 2 tbsp powdered sugar
- Chocolate shavings (for garnish)
- Fresh berries (optional)
Make sure all your ingredients are at room temperature for best results.
Instructions
Prepare the Oven and Pans
Preheat your oven to 350°F (175°C) and grease your heart-shaped cake pans with butter or cooking spray.
Mix Dry Ingredients
In a large bowl, sift together the flour, cocoa powder, sugar, baking powder, baking soda, and salt until well combined.
Combine Wet Ingredients
In another bowl, whisk together the eggs, milk, vegetable oil, and vanilla extract until smooth.
Combine Both Mixtures
Pour the wet ingredients into the dry mixture and mix until just combined. Finally, add boiling water and stir until the batter is smooth.
Bake
Divide the batter equally into the prepared heart-shaped pans and bake for about 30 minutes, or until a toothpick inserted into the center comes out clean.
Cool and Decorate
Allow the cakes to cool in the pans for 10 minutes before transferring them to a wire rack. Once cool, whip the cream with powdered sugar until soft peaks form and frost the cakes. Decorate with chocolate shavings and berries if desired.
Allow the cakes to set for a few minutes before slicing to ensure the whipped cream holds.
Pro Tips
- For an extra layer of flavor, consider adding a splash of coffee to the batter. It enhances the chocolate without being overpowering.
Make-Ahead and Storage Tips
If you want to prepare these Mini Heart Cakes in advance, the sponge layers can be baked and stored in an airtight container at room temperature for up to two days. Alternatively, you can wrap the cooled cakes in plastic wrap and freeze them for up to three months. Just remember to thaw them in the refrigerator before icing so that they don't get too soft when you frost them.
While the whipped cream can typically hold for a short while in the fridge, it’s best to frost the cakes just before serving to maintain freshness. If you're making leftovers, consider storing the separate cakes and frosting in the fridge and assembling them just before they are to be eaten.
Tips for Scaling the Recipe
If you're looking to make a larger batch, this recipe can be easily scaled up by doubling the ingredients. Just ensure you have appropriately sized cake pans to accommodate the increased volume. For larger cakes, a baking time of 35-40 minutes may be needed, so keep an eye on them and utilize the toothpick test for doneness as the cakes will require more time to bake through.
Conversely, if you prefer mini cakes but have smaller heart pans, you can reduce the ingredient amounts by half. This may require adjusting the baking time as well since smaller cakes will cook faster—check them at around 20-25 minutes to avoid overbaking.
Questions About Recipes
→ Can I use a different shape for the cakes?
Absolutely! You can use any shape or even make a larger cake if you prefer.
→ How long do these mini cakes last?
They stay fresh for up to 3 days if stored in the refrigerator.
→ Can I make the sponge ahead of time?
Yes, you can bake the sponge a day in advance; just wrap it tightly in plastic wrap.
→ What can I use instead of whipped cream for decoration?
You can use buttercream or even a simple dusting of powdered sugar for a lighter option.
Mini Heart Cake with Chocolate Sponge
Created by: Esmeray Collins
Recipe Type: Cozy Inspiration
Skill Level: Intermediate
Final Quantity: 6 mini cakes
What You'll Need
For the Chocolate Sponge
- 1 cup all-purpose flour
- 1/2 cup cocoa powder
- 1 cup sugar
- 1 tsp baking powder
- 1/2 tsp baking soda
- 1/4 tsp salt
- 2 large eggs
- 1/2 cup milk
- 1/2 cup vegetable oil
- 1 tsp vanilla extract
- 1/2 cup boiling water
For the Decoration
- 1 cup heavy whipping cream
- 2 tbsp powdered sugar
- Chocolate shavings (for garnish)
- Fresh berries (optional)
How-To Steps
Preheat your oven to 350°F (175°C) and grease your heart-shaped cake pans with butter or cooking spray.
In a large bowl, sift together the flour, cocoa powder, sugar, baking powder, baking soda, and salt until well combined.
In another bowl, whisk together the eggs, milk, vegetable oil, and vanilla extract until smooth.
Pour the wet ingredients into the dry mixture and mix until just combined. Finally, add boiling water and stir until the batter is smooth.
Divide the batter equally into the prepared heart-shaped pans and bake for about 30 minutes, or until a toothpick inserted into the center comes out clean.
Allow the cakes to cool in the pans for 10 minutes before transferring them to a wire rack. Once cool, whip the cream with powdered sugar until soft peaks form and frost the cakes. Decorate with chocolate shavings and berries if desired.
Extra Tips
- For an extra layer of flavor, consider adding a splash of coffee to the batter. It enhances the chocolate without being overpowering.
Nutritional Breakdown (Per Serving)
- Calories: 320 kcal
- Total Fat: 20g
- Saturated Fat: 10g
- Cholesterol: 90mg
- Sodium: 150mg
- Total Carbohydrates: 36g
- Dietary Fiber: 2g
- Sugars: 22g
- Protein: 4g